Have you seen the price of bath products lately? You know the ones I mean — bath salts, bath oils, and those cute little round ball bath bombs.
And have you looked at the ingredients as well?
I have — and let me tell you neither the price nor the ingredients in them makes me want to buy them.
Far too many of the products we use these days are loaded with chemicals I can’t even pronounce, let alone understand exactly what it is that they do.
Because of that, when I became interested in aromatherapy it wasn’t much of a stretch to think about making my own homemade bath products using my favorite essential oils.
Not to mention the fact that you can save oodles of money making your own, rather than using store-bought kits. Plus, homemade bath soaks make great gifts for Christmas and birthdays!
So, how can you make your own bath products? And what kinds of things will you need?
Here’s how to make refreshing bath salts, fizzy bath bombs, and homemade bubble bath…
#1 – Homemade Bath Salts Recipe
Bath salts not only help to create a soothing, peaceful, spa-like experience, but they may also have beneficial effects on the muscles and nervous system.
What you need:
- Baking soda
- Sea salt or table salt
- Epsom salts
- Essential oil(s) of your choice
- Food coloring
- Large mixing bowl and spoon
- Measuring cup
How to make homemade bath salts:
1. In a mixing bowl, add 3 cups of Epsom salts, 2 cups of baking soda, and 1 cup of sea salt (or table salt). Mix thoroughly.
2. Once these ingredients are very well mixed, then add the food coloring.
TIP: Feel free to mix colors to get your desired color, or to use less or more to make the salts a lighter or darker color. If you do decide to mix food colors to get the color you want, be sure to mix the food coloring outside your mixing bowl and then add it already pre-mixed once you have achieved the color you want. Otherwise, there is a possibility your bath salts will be multi-colored.
3. Once the color has been evenly stirred throughout the mixture, then add essential oils for scent.
TIP: My favorite is lavender because it has calming properties that help me to relax after a hard day of working. However, you can choose any scent available as an essential oil and you can even mix essential oils to get new scents.
Here’s a step-by-step tutorial to make lavender bath salts.
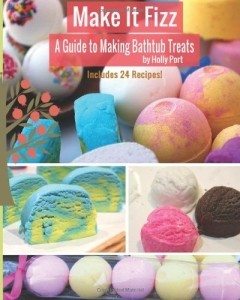
#2 – Homemade Bath Bombs Recipe
Bath bombs are those delightful round balls that fizz and release a wonderful scent when you drop them into a tub of water. That scent can last for hours in your bathroom.
They’ve become quite popular in the last few years, and they make great gifts for kids who love the fizzing action!
What you need:
- Citric acid
- Baking soda
- Cornstarch
- Essential oils
- Sweet almond oil
- Food coloring
- Small decorative cups or holders
- Mixing bowls — 2 small ones
- Measuring cups and spoons
- Wax paper
- Plastic container
How to make homemade bath bombs:
1. In a bowl, mix 2 tablespoons of cornstarch with 2 tablespoons of citric acid. Mix well.
2. When there are no more lumps, add 1/4-cup of baking soda to the mixture. Stir until you have a very dry dough-like consistency.
3. In a second bowl, mix 3 tablespoons of sweet almond oil with 3-4 drops of whatever food coloring you want to use.
4. Next, add 2-3 drops (or 1/4 of a teaspoon) of your favorite essential oil(s) for scent.
TIP: I don’t usually use more than one essential oil for scent, because I have just a few favorites that I like to use. But if you are daring, you can mix essential oils to create new scents.
5. Very slowly and carefully, add your oil, food coloring and essential oil mixture to the first bowl that has the dry dough mixture. Blend everything very well.
6. Lay out a piece of waxed paper. Using your hands, roll the mixture into balls that are smaller than golf balls. (Anything bigger may not dry thoroughly — which can make a mess!)
7. Place your bath bomb balls on the waxed paper and let them dry for several hours in a warm and dry place. After that, you will need to move them to an open box or plastic container to dry for several more days before you package them up.
TIP: The drying time is very important, because no one wants gooey bath bombs!
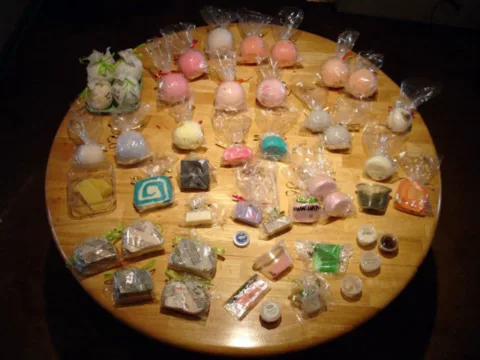
8. Once the drying is completed, put your bath bombs in any sort of small cup or holder that is decorative. (Mini muffin cups are a great choice.)
9. What you do with them from there is your choice, some people wrap them in cellophane and put them in a coffee cup with other spa treats. Some put them in a decorated glass jar.
Here’s another simple recipe for homemade bath bombs.
#3 – Homemade Bubble Bath Recipe
Homemade bubble bath is another wonderful way to pamper yourself and those you love. Plus, it makes a great gift — particularly for kids who, as we all know, get a kick out of the bubbles!
What you need:
- Plastic bottle with a tight lid
- Sweet almond oil
- Essential oils
- Bar of Castile soap (or 1 cup of unscented shampoo)
- Liquid glycerin
- Distilled water
 How to make homemade bubble bath:
Mix together 4 cups of distilled water, 1 bar of Castile soap (or 1 cup of unscented shampoo), 4 ounces of liquid glycerin, 1/2-cup of sweet almond oil, and a few drops of your favorite essential oil(s). Mix well.
Transfer the mixture to a new plastic bottle purchased just for this purpose.
Wa-lah… bubbly bubble bath!
Here are 2 more recipes for homemade bubble bath.
Packaging & Displaying Your Homemade Bath Products
You can even take things a step farther by finding fun jars and containers to display your bath products, or to give them as gifts.
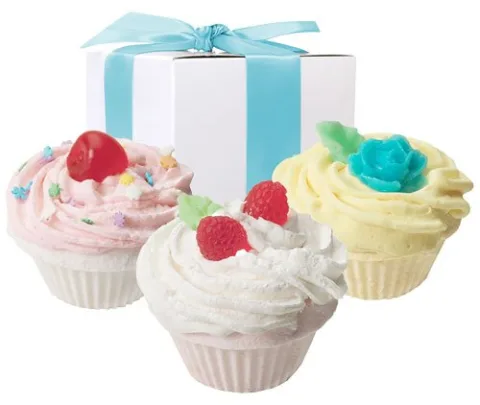
The possibilities are endless… You can decorate the containers, add some fun hand towels, and even create your own homemade spa-packs. Or have some fun and make bath bomb cupcakes!
These make great gifts. Trust me, your friends and family will love them!
By the way, making your own bath products is a great way to go green and help to protect our environment since you use all natural products.
Enjoy!
Like this post? Save it to read again later… or share with others on Pinterest!

