I’ve had a Root Canal… and I lived to tell about it.
Actually, I had two within 5 months. Then, I had to have one of those re-done less than a month later!
Why???
The short version is: I switched out all my old silver Fillings that I’d had since childhood with white Fillings.
That process resulted in 6 teeth needing Crowns… 2 needing Root Canals… and 1 needing a Root Canal Retreatment.
Initially, I was anxious because I’d never had a Root Canal, and I had heard such horror stories! But I can assure you… it’s really no big deal.
Here’s what you need to know about the entire Root Canal procedure. Hopefully, you’ll find answers to all of your Root Canal questions here…
Root canal procedures are performed when the nerve of the tooth becomes infected or the pulp becomes damaged. During a root canal procedure, the nerve and pulp is removed and the inside of the tooth is cleaned and sealed. Root canal procedures have the reputation of being painful. Actually, most people report that the procedure itself is no more painful than having a filling placed. Source
My Experience With Root Canals
Cost for a Root Canal on one tooth: $350 with dental insurance vs $1,000 without insurance.
Length of time I didn’t eat on that side of my mouth after the Root Canal: Exactly one week.
After the first day, you don’t have to “baby” that tooth or anything. Still, it seems so strange to me that, despite the fact they’ve removed all the roots from a particular tooth, that same tooth “feels” like it still has roots & sensitivity issues for about one full week! Then… you’re golden. No more tooth ache, ever.
Prescriptions received after a Root Canal: An antibiotic & a pain-killer.
I was given a prescription for meds to lessen the pain following each of my Root Canals. They’re supposed to be used “if needed”. I didn’t need them at all after the first Root Canal. But after the second one (see below), I definitely needed something. I chose the 800 mg every 8 hours of Ibuprofen that the dentist recommended instead of the codeine-laced pain killer that he wanted to prescribe.
One thing that is required (though not all dentists offer a prescription for it without asking — my friend had this experience) is an antibiotic. There’s a reason that they’re as careful as they are about keeping all of the germs away from the tooth and the roots during the procedure (more on that below)… it’s because any tiny amount of bacteria that gets into the root area can cause a serious infection! I was prescribed one full week’s worth of antibiotics following each Root Canal procedure that I’ve had done. (Which gets really old, because you have to remember to take a pill 3 times each day for 7 days in a row — for something that’s not painful. But I’ve seen pictures of tooth infections on the Internet… and I wasn’t taking any chances.)
How you know you need a Root Canal: Temporary or permanent pain when biting down on foods, or unusual sensitivity to heat & cold.
The dentist was surprised that I never seemed to experience the sensitivity to heat & cold. He said that’s usually the first sign.
For me though, it was always a pain that made me squirm whenever I’d bite down on harder foods like peanuts or broccoli stems. Kinda like when you bite your tongue… you’re just caught completely off-guard, and you practically jump out of your skin. That’s what it was like for me.
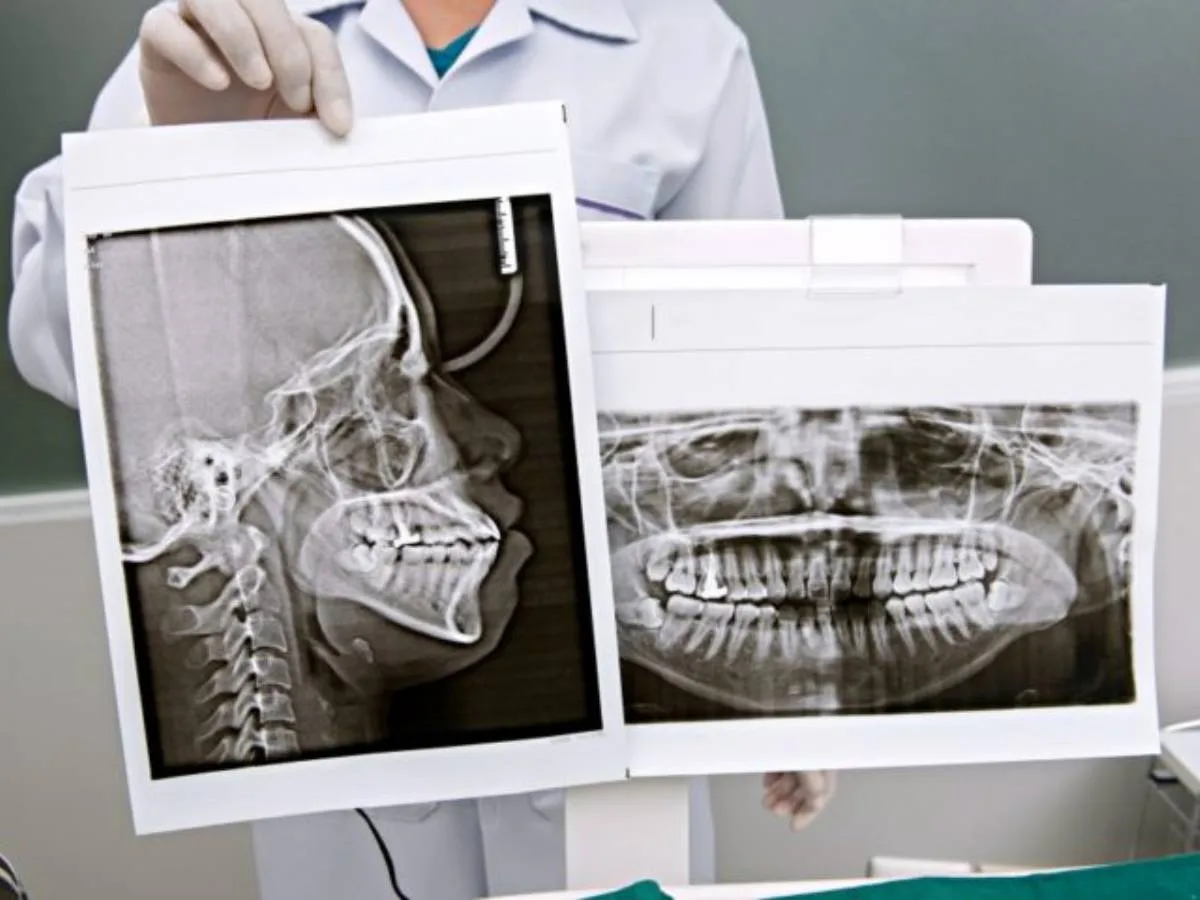
An x-ray at the dentist’s office proved that a Root Canal was necessary.
A tooth’s nerve and pulp can become irritated, inflamed, and infected due to deep decay, repeated dental procedures on a tooth and/or large fillings, a crack or chip in the tooth, or trauma to the face. Source
The Root Canal Procedure In 9 Steps
 1. You’re escorted back to a small, overly-sanitized, white room in the very back of the dental clinic.
I guess that’s so other patients won’t become disturbed by all the screaming. I’m KIDDING! There’s much more drilling and flinching and wriggling and gagging that goes on up in the “main” dental cubicles than back there anyway. My guess is… it’s very quiet back there, and since there are fewer distractions, the dentist can concentrate on the task at hand. Which, by the way, is actual surgery, so it’s good that you have their full, undivided attention!
There’s a different dentist waiting for you there — an Endodontist. Mine was a woman. She made sure I was completely comfortable with what she was going to do today, explaining, step-by-step, exactly how things would go.
2. The moment you sit in the dental chair, you’re asked to sign a release acknowledging all of the side effects and possible “bad” things that could happen during the procedure itself or in the process of receiving anethesia (via shots).
For the record, I’m one of the “lucky ones” that can feel EVERYTHING. They are always surprised when they realize just how many shots it takes to numb me each time — even for a Filling.
Also for the record, I am one who HATES shots! Especially in-the-arm shots. But for some reason, these tiny needles going into my gums don’t bother me that much. The very first one always makes me squirm a tiny bit, and it stings a little at first, but then nothin’. It’s very quick. (My childhood dentist always told me to get ready for the mosquito bite I was about to feel. I guess I’ve always tried to remember that …it helps a bit.)
3. After the shots (about 3 — or in my case, 5, plus another one mid-way through the procedure!), you sit around chit-chatting with the dentist while you’re waiting for the numbing to take full effect. (The dentist said lower teeth take much longer too numb than upper teeth. I’ve had a Root Canal on one of each, and I’d have to agree.)
4. Then you are introduced to the dental dam. It’s a big ‘ol square piece of rubber that the Endodontist stretches and fits tightly over the tooth that’s being worked on. It’s held in place with some metal instrument that props your jaw open. It’s not the least bit painful, but it’s the strangest contraption I’ve ever seen. Its purpose is to keep the area around that tooth perfectly dry, sanitized, and safe from the germs & bacteria inside your mouth — including your own saliva! These are, after all, the roots and foundation of your teeth and gums. Infection would not be good. (See my final words on dental dams in Step #8 below.)
5. Next, the drilling begins. They start by drilling a small hole through the center of the tooth down to the tooth canal. Then, they use a very long, very thin needle — that’s probably thinner than a straight pin — to reach down to the roots. (Each tooth has 3 or 4 roots I believe, and in a Root Canal, they’re all removed… at least mine were.)
As a result of the ultra-thin drill bit that’s used, the drilling itself isn’t that big of a deal with a Root Canal. This goes against everything I’d heard about Root Canals. Not only can you not feel anything (of course), but you can’t really hear anything either — it’s a very quick & easy procedure.
That is unless they happen to be drilling through a tooth that already has a Crown. (One of mine was like this.) In that case, you’d think they were taking a jackhammer to your measly little tooth because the vibrations are so much more intense. Again, it doesn’t hurt, but the solid mass of a Crown makes it much harder to drill down to the root. Simply put: the drilling process seems much more exaggerated through a Crown. Luckily, it only lasts a few minutes.
6. Then begins the lengthy process of cleaning and irrigating the canals inside your tooth. Sounds simple enough. But it’s a complete bore. It takes so much time to repeatedly poke a thin needle in and out of the pre-drilled hole in your tooth… change out the needle on the handheld “thing”… then poke a different thin needle into the same hole… and so on. (Here’s what’s it’s like. See also the video below.)
All the while, the dentist is taking some sort of sizing measurements or density measurements, or sensitivity measurements — I haven’t a clue. But it’s a neverending series of events where she’s replacing needles, listening to beeps on the machine, and irrigating the root area. Other than the fact that your jaw gets kinda sore from having to keep your mouth wide open the whole time, this part is completely painless.
7. Finally, she’s done. She comments on the amount of infection that she noticed going on in the canals and around the roots (…which was the cause for all your pain up til now and signaled that you needed a Root Canal in the first place). She writes your prescriptions based on the amount of decay that was present (antibiotic) and the amount of pain she thinks you’re likely to have afterward (pain-killer). Then she escorts you back up front to see your “regular” dentist who is the pro at Fillings and Crowns — which is all you need at this point before you’re sent on your merry way.
8. Back in the “regular” dentist chair, you once again… wait. By this point, you’re very eager to get the heck out of there. And, you couldn’t even care less what you look like. (Or so I thought…) So, to kill some time, I actually persuaded the dental assistant to take my picture with this dental dam in place while I was waiting for the dentist to become available. I thought it would be funny to show my hubby.

So… In addition to the fact that the dental dam is a bright neon green… it’s oh so glamorous! Wouldn’t you agree? Especially when you have to walk out among the other patients who are having their teeth cleaned just so you can make your way to the proper chair where your “regular” dentist will add the Crown as the last step in the process of having a Root Canal.
Here you are with half of your mouth completely numb, and it just so happens to be the same side that is propped open with this dental dam, so you’re drooling profusely from your bottom lip — only you don’t know it. This is where you take a lesson in humility and thank God that you actually have teeth! (*She says as she’s remembering that vision of looking into a mirror to view her tooth nub*)
DROOL-SAVING TIP: Sit down as quickly as you can and tilt your head back on the chair’s headrest. Let gravity be your friend.
9. Finally, the dentist arrives to check the Endodontist’s work and to add the final step.
- If you’ve already got a Crown on that tooth, then the dentist will simply add a Filling to that tooth’s surface to cover up the tiny holes that were drilled to get to the roots. Then, in about 10 minutes, you’ll be walking out the door.
- If you haven’t already got a Crown on that particular tooth, then you’ll be sized for one (more on that here), and you’ll leave in about 30 minutes wearing a temporary Crown until your permanent Crown arrives in about 3 weeks.
Total time for a Root Canal from start to finish: 1.5 to 2 hours.
My Second Root Canal 5 Months Later
So, 5 months go by, and I started experiencing a toothache on the other side of my mouth whenever I ate hard foods (peanuts, broccoli stems).
I decided to wait it out a couple weeks until my next scheduled teeth cleaning. I was confident I was going to need another on-the-spot Root Canal. I was right. It was yet another fracture, which led to infection straight down to the root. Which meant yet another Root Canal… on the spot.
These fractures may have been there all along, but having to drill out those old silver Fillings (plus a tad more) in order to put in the white Fillings probably stirred things up a bit.
My Third Root Canal A Few Weeks Later
The icing on the cake was the day I found out that one of my root canals had to be re-done!
Yep. That tooth became incredibly sensitive and painful, and the dentist said that I needed a Root Canal Retreatment.
As a result, I had to endure some rather extreme drilling and tugging in order to remove the cement that held my tooth Crown in place (not to mention all of the extra time and shots to make my mouth numb enough… again!) in order to perform a second Root Canal on that tooth. It wasn’t fun at all. And it seemed to take forever… hours!
Thankfully, that was the very last of my Fillings, Crowns, and Root Canals.
Despite your dentist’s best efforts to clean and seal a tooth, new infections might emerge after a root canal. Among the likely reasons for this include:
- More than the normally anticipated number of root canals in a tooth (leaving one of them uncleaned)
- An undetected crack in the root of a tooth
- A defective or inadequate dental restoration that has allowed bacteria to get past the restoration into the inner aspects of the tooth and recontaminate the area
- A breakdown of the inner sealing material over time, allowing bacteria to re-contaminate the inner aspects of the tooth
Sometimes retreatment can be successful, other times endodontic surgery must be tried in order to save the tooth.
. photo by gillicious on Flickr")

Why So Many Crowns & Root Canals?
The dentist said that most of the “extra” dental procedures that were required on my teeth in a 6-month time period were due to the fact that “in the olden days” dentists used to drill out much more of a tooth whenever they performed a routine Filling for a cavity. That means, much more “hallowing out” — often leaving you with very little actual tooth remaining. Which isn’t an issue, if the tooth is simply being filled.
The only time it becomes an issue is if you ever have to go back in and do more work on that same tooth. Such was the case when I was having my silver Fillings replaced with white ones. They had to remove the entire (large!) silver-filled area plus some extra space surrounding that area.
At that point, it’s questionable just how much more tooth can be spared. Plus, any dental work at this point is likely to make tiny fractures that were at the base of your teeth become even larger.
Not to mention the fact that every time you get work done on your teeth — especially a Crown — you’re dealing with slightly different bite patterns and such. So you could now be biting down differently, causing those fractures to sink deeper into your gums and roots.
The Bottom Line…
So within 6 months of switching out all my old silver Fillings with white Fillings, I’ve had several Crowns and a few Root Canals… and yes, I lived to tell about it. (Ha ha.)
It was definitely a learning process, to say the least. But, for me, it was the right thing to do. I had a mouth full of 30-year-old silver. And much of that silver was starting to seep into the white exterior surface of my teeth, making some of my teeth have a gray tint to them.


I figure that it was actually only a matter of time — what with all that silver and gray taking over my teeth! I chose to do it in my early 40’s while I had dental insurance, because I was planning to become self-employed soon and would no longer have insurance.
I thought I’d share my story here to help someone else who might be thinking of doing the same thing.
Plus, I’m sure there are other people who, like me, have wondered what the process of having a tooth Crown is like, and what it’s like to get a Root Canal.
Please let us know if the process of getting a tooth Crown or a Root Canal was different for you…